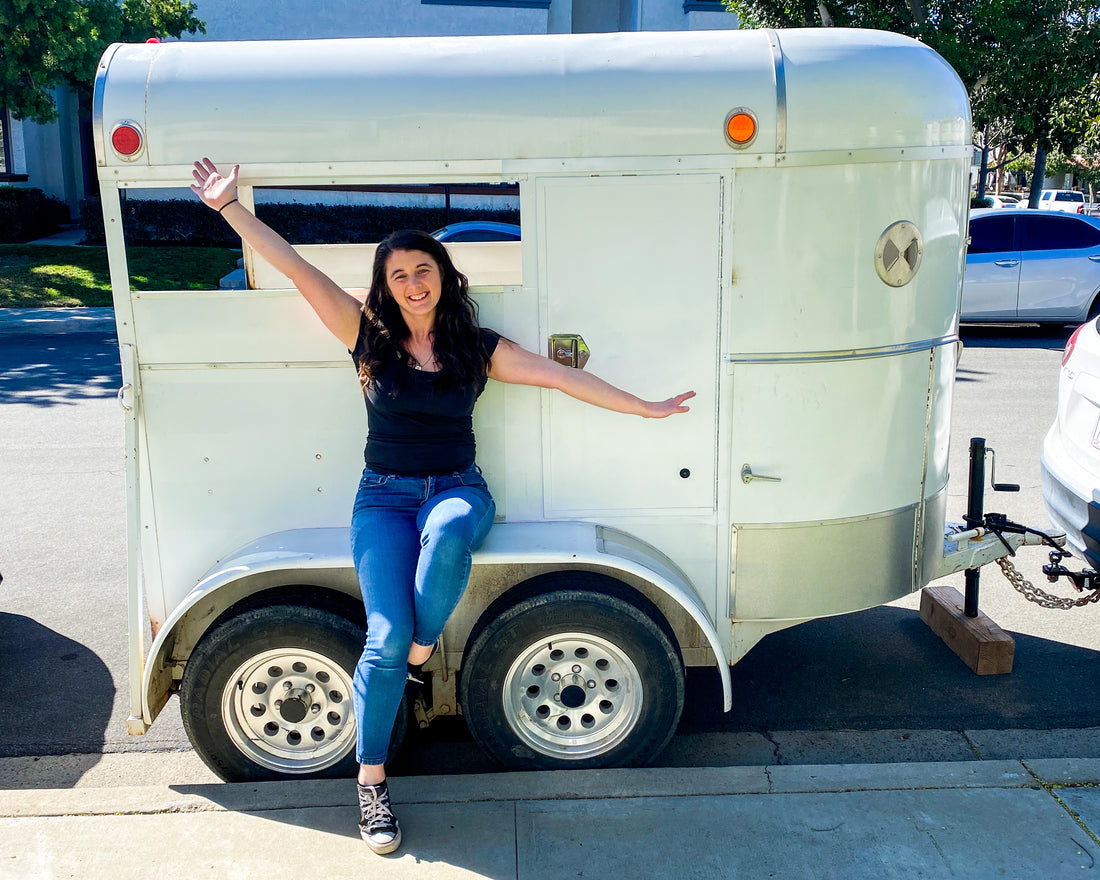
Welcome back! If you are new here, I recommend checking out part 1 of the conversion where I outline the process of purchasing the trailer, gutting the unnecessary components, and researching the steps I needed to take. After making a game plan, scooping out all the sawdust, and giving her a good scrub down, I was ready to start tackling the to do list!

My first step was to sand down the floors. I originally was going to try and preserve the existing planks because they were in pretty great shape. My car is a Mazda CX5 with a towing capacity of 2,000 lbs, so I was hoping to do everything possible to keep the weight low. I spent hours sanding them down, getting them smooth and priming them for stain - and then scrapped that idea entirely. After thinking through how the space would be used, I realized that sweeping and cleaning the planks would be a nightmare, so I decided to switch gears.

The original floor had small gaps between each plank, so I laid a waterproof liner down to protect the new flooring I'd be putting down and tacked it to the wood below. Next, I took 1x2 boards to create studs along the walls of the trailer. In order to make sure there was enough structure for the rest of my plan, I needed to create a wooden frame to attach the different components to. I used both liquid nails and wood-to-metal screws to attach the wood to the metal of the trailer and made sure to place the boards on the ground over the edges of the liner to ensure it stayed tight.
Next, I set out to create a wooden subfloor for the entire trailer floor. I used OSB sheathing for my subfloor and it seemed to work well. The U-shape at the front of the trailer was the most stressful part of the interior build. As Jenny from Noble Dizzigns will tell you, this is a pain in the ass. Geometry was never my strong suit and the notches at the front of the trailer made it exceptionally difficult. I took as many measurements as I could and after several hours of remeasuring and staring at the wood, I simply went for it. Unfortunately, it didn't go exactly as planned. After trying to strong-arm the wood into place, my husband had to step in and help me with a more reasonable plan. Because this bottom section would simply be a storage area, it didn't have to be pretty. To make it functional and as close to the edge as possible, we cut the u-shaped wood down the middle so each piece could be fit around the grooves of the trailer walls. I sealed the cracks with waterproof caulking and chalked that up as a win.
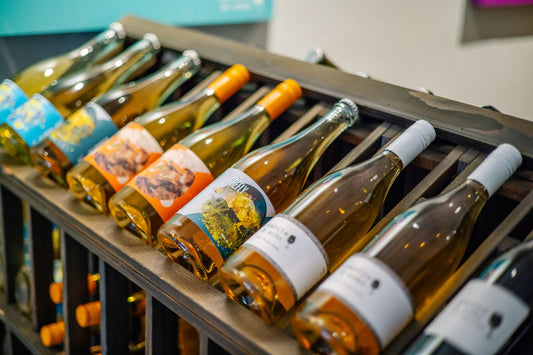
The intent of the trailer was to make it multifunctional to act as both a flower bar on one side and a wine + beer bar on the other. I had planned to cut the service window for the wine + beer bar myself with a jigsaw because, why not right?! Wrong. That jigsaw made contact with the metal and just squirreled away on me. I gave it 2 good tries before my husband, Jeff, gave it a go and we had about 1/4'' cut out before I called Joel, my welder extraordinaire. He had the window cut out perfectly and even larger than I thought possible within 45 minutes. Moral of the story - you can do hard things, but sometimes it's better to call in the professionals!

With my studs secured, service window cut out, and the subfloor complete, I was ready to start adding the fun stuff! I chose shiplap panels from Home Depot for the walls. They're thin, super cute and come in 8' sheets, so they were perfect for this project. I cut them to size and attached them with 5/8'' brad nails to my studs. My cordless nail gun was essential to this project, so I highly recommend getting your hands on one before you get going. Once the panels were up, I needed to prepare the wine window to support a bar top. The sheet metal of the trailer just wasn't going to support the weight, so I cut a 2x6 piece of wood to run the entirety of the window length and attached it from both the outside and inside with wood to metal screws to ensure it held firmly. I knew I would be covering the exterior with paneling, so I didn't have to worry about the screw heads showing. I filled the nail and screw holes with wood filler and they turned out beautifully.
Next up I was ready for flooring. I knew I wanted something waterproof, so I chose Pergo XP Laminate Wood Flooring in Haley Oak. Overall, I was really happy with the results. It was a lot more difficult to install than I anticipated because the waterproofing material made it incredibly difficult to cut. After trying and failing to cut it with a utility knife twice, I resigned myself to using (and ruining) the blade of my miter saw and it went a lot quicker after that. Take it from me - the miter saw is a gift from the heavens. I finished off the flooring with PVC quarter round along the edges and attached those directly to the wall with brad nails. After adding caulking to the seams of both the quarter round and where the wall panels meet, it was ready for paint.

I decided to use a metal primer as a base for the exposed metal and then used exterior grade flat white paint over everything, including the walls. For the primer, I simply used spray paint cans since it didn't need to be fancy. For the paint itself, my saint of a neighbor had a paint sprayer which made the paint go on quickly and smoothly (once I got the hang of it!). It took some time getting it to work and I definitely ruined the clothes I had on, but it was worth it. In hindsight, I probably should have spent more time priming before I painted. San Diego has been uncharacteristically rainy and some of the paint on the interior of the roof is fading to show the rust, but that's something I can fix down the line.

At this point, I was super happy with the results! I knew before I went much further, it was time to get the exterior painted so I'll walk through that process in the next post.
Be sure to sign up for our newsletter for more updates!